Easy Tanggun Carrot Kimchi Recipe – Crunchy and Spicy
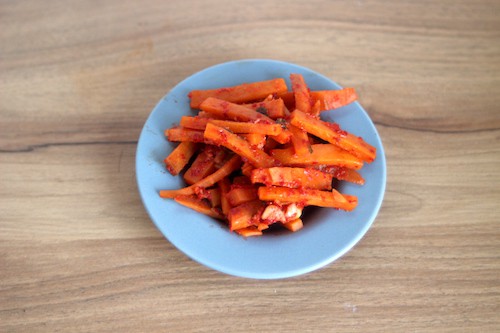
Looking for a delicious and easy-to-make side dish that's packed with probiotics? Look no further than this tangy and crunchy carrot kimchi recipe!
As a nutritionist and someone who has made a lot of kimchi, I can tell you that this dish is not only super tasty, but also incredibly good for you.
With just a few simple ingredients and a little bit of fermentation time, you can whip up a batch of this delicious side dish that's perfect for serving with almost anything.
Carrot Kimchi Ingredients
Detailed Carrot Kimchi Instructions
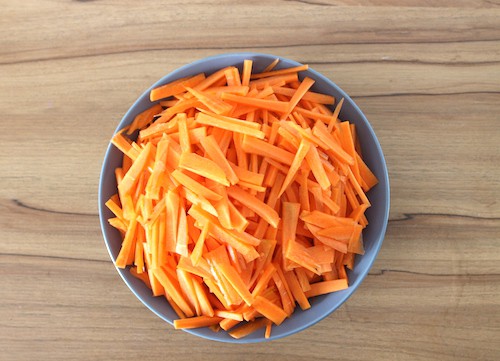
- Begin by peeling and washing your carrots, then julienne slice them. While some recipes recommend grating the carrots, this can result in a mushy texture. By taking the time to slice them thinly, you'll get a satisfying crunch. It may require a bit of extra effort, but it's well worth it in the end.
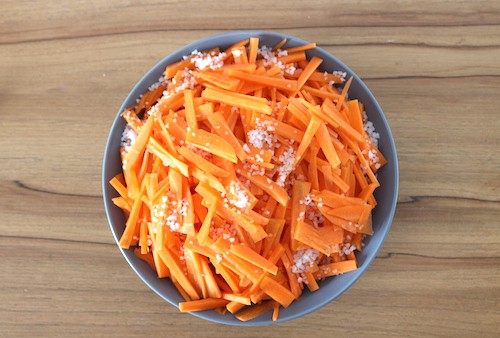
- Sprinkle sea salt evenly over the sliced carrots, making sure every piece is coated. Keep in mind that carrots take longer to absorb salt compared to other kimchi ingredients, so it's important to let them sit for a longer period of time. Allow the salted carrots to sit for 10 to 15 hours, preferably overnight, to ensure they are properly seasoned before moving on to the next step.
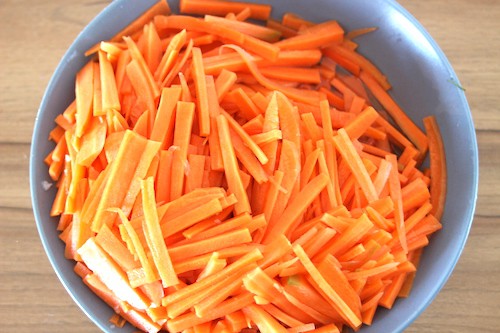
- After salting the carrots overnight, you should see some water that has collected at the bottom of the bowl. This water will be very salty. Don't worry, that's normal! The salt is drawing out excess moisture from the carrots and creating a brine that will help with the fermentation process.
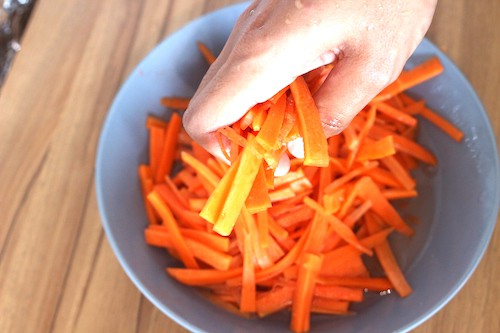
- Wash the salty carrots with clean water, ensuring all salt is removed, then clean your hands and begin to squeeze out as much liquid from the carrots as possible. This step is important to remove excess water and prevent the kimchi from becoming too watery. Transfer the handfuls of dried carrots into a fresh, clean, and dry bowl.
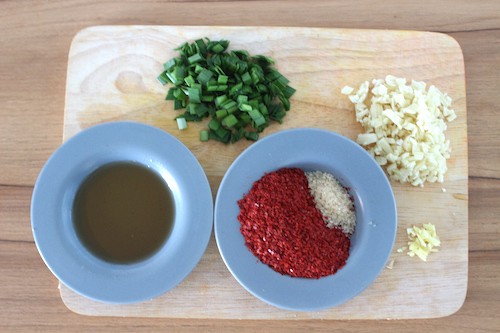
- Prepare the ingredients for the Carrot Kimchi Paste. Wash and slice the garlic, ginger, and chives. You can finely chop them or use a food processor to make a paste. You don't have to place the fish sauce and other condiments into separate bowls, but it can be helpful to have them ready before you start making the paste. Note that in the photographs, the condiments are shown in separate bowls for visual clarity.
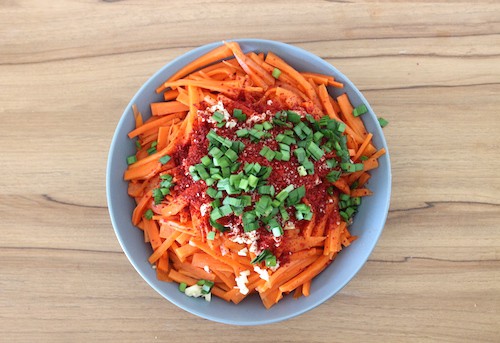
- Spread all the prepared ingredients, including the sliced garlic, ginger, and chives, on top of the dried carrots in the clean bowl. This will allow you to mix everything together thoroughly.
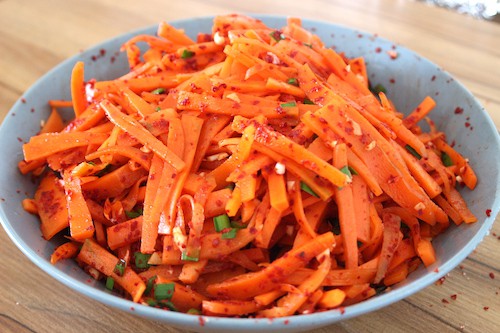
- When mixing the ingredients, it is recommended to use a clean spoon or wear gloves and mix with your hands. It's a good idea to use a larger bowl than shown in the photos to avoid making a mess. If using your hands, make sure to wash them thoroughly before and after handling the ingredients.
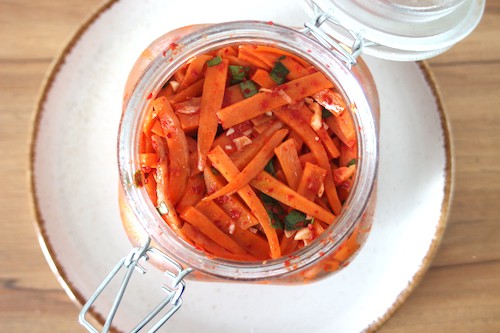
- Once the carrot kimchi has been mixed well, transfer it into a clean mason jar and use a spoon to press down hard to pack the kimchi tightly. Leave about an inch of space at the top of the jar. Loosely close the lid of the jar and place it in a cool, dark place to ferment for 1-2 days. It's important to "burp" the jar once a day to release any built-up gases, which can cause the jar to explode. After 1-2 days, taste the kimchi. If it's tangy enough for your liking, transfer it to the fridge to stop the fermentation process. If you prefer a stronger flavor, let it ferment for another day or two before refrigerating.
Final Thoughts
This easy Tanggun Carrot Kimchi recipe is a must-try for anyone looking to add a delicious and healthy probiotic dish to their meals. With its tangy and crunchy texture, it pairs perfectly with rice, noodles, sandwiches, or as a side dish to any main course. If you want a kimchi sweeter than carrots, try this apple kimchi recipe I made.
To store your homemade carrot kimchi, keep it in an airtight container in the fridge, where it can last for several weeks. If you want to extend its shelf life, you can transfer it to the freezer, where it can last for up to six months.
Experiment with different variations by adding other vegetables or spices to create your own unique twist. This versatile dish is perfect for any occasion and can be enjoyed by vegans, vegetarians, and meat-lovers alike.

Alicia Harper is a NASM-CNC Certified nutritionist and the editor of ProbioticReviewGirl.
After suffering from recurrent gut issues she spent years researching Probiotics and the microbiome.
She has tested 29+ different Probiotics and is a probiotics expert. As a probiotic fanatic, she has valuable knowledge to share with the world.